


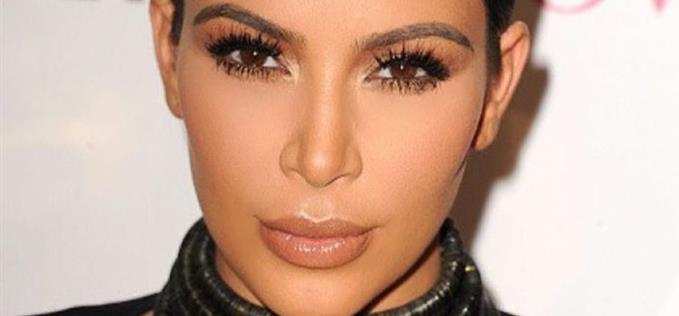
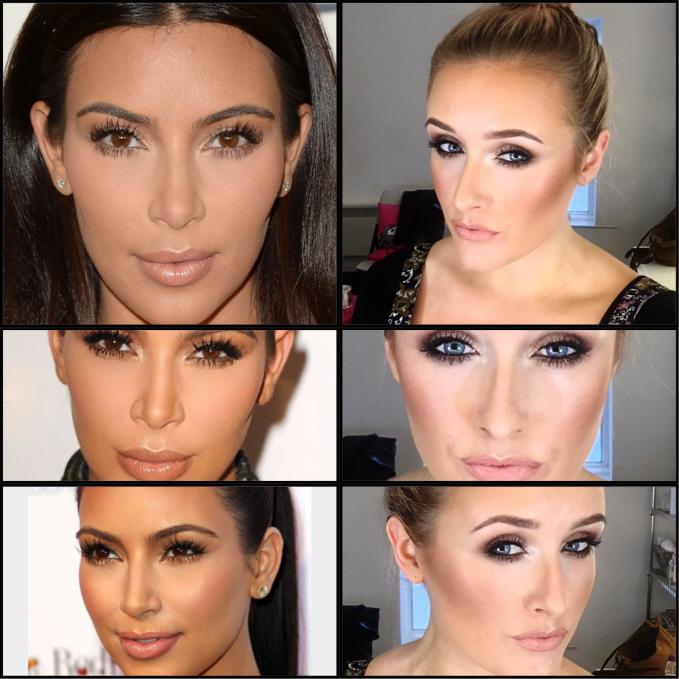
KIM Kardashian-West: notorious for chiselled cheekbones and flawless makeup.
We are both fully aware of the power of make-up
Me, on the otherhand, is not so notorious, nor so chiselled in the cheekbone department.
Being pale, fair, blonde and blue eyed, I’d say me and Kim are pretty much polar opposites. However, I do believe we have one thing in common - we are both fully aware of the power of make-up. And I also believe we both take full advantage of that.
Yet at first I was reluctant try her most famous make-up look.
When I think 'Kim Kardashian', I automatically picture mask-like foundations, paint-like concealers and contouring weapons and a trowel waiting excitedly beside them.
I’ve never been a fan of such heavy makeup, preferring creative colours, lightweight foundations, glowing cheeks, and faces that don’t look like they will crack if you crack a smile. However, regardless of my preferences, Kim K’s signature makeup look is world renowned and I can 100% appreciate her beautifully applied, flawless makeup.
So here goes…
 Kim Kardashian's signature make-up look
 STEP ONE - THE BASE AND CONCEALER
First up, I primed my face with Laura Mercier, Hydrating Foundation Primer. This primer holds foundation in place, whilst giving a radiant look to the skin.
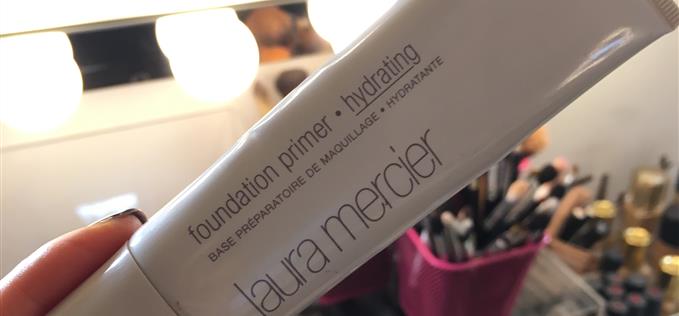 Laura Mercier primer
Next, we all know that nobody could possibly look as awake as Kim Kardashian and there must be a great concealer behind this trickery. I used super Lasting Perfection by Collection 2000.
(When one of my Brides this year forced me to use her favourite concealer on her wedding day, I winced when she handed me a Collection 2000 concealer stick. Yet I’m so glad I did, this concealer is amazing and I have vowed never to be a makeup snob again.)
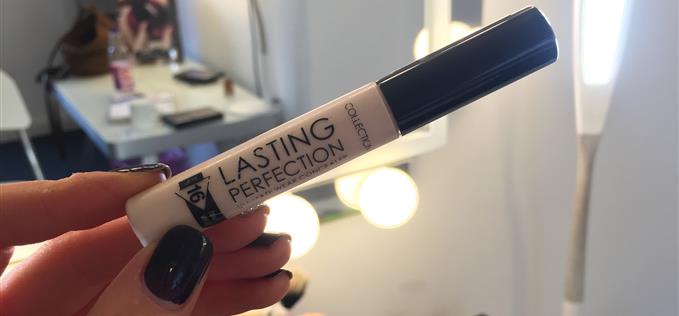 Collection 2000 - cheap and cheerful concealer
I dabbed the concealer under my eyes, under my brows, and just next to my tear duct, where blueness usually occurs.
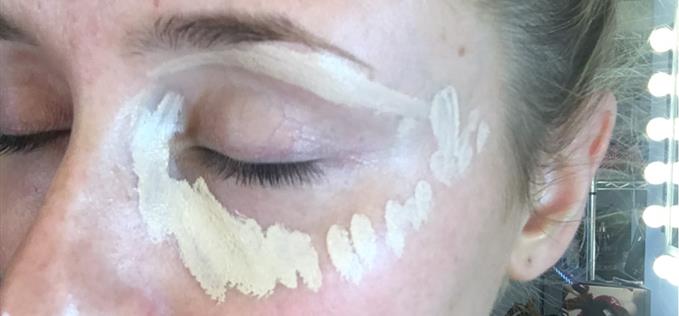
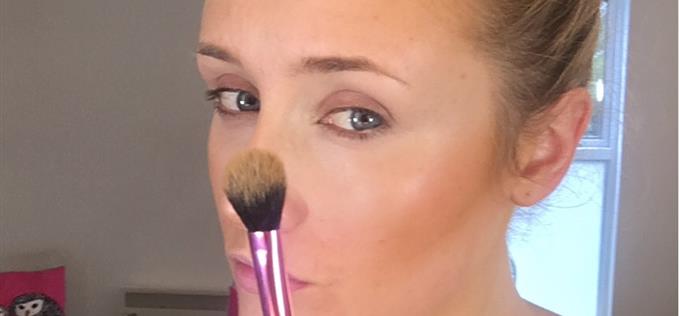
I also dabbed the concealer in the places where Kim K’s face looks to be highlighted; down my nose, across the middle of my forehead, across the top of my cheekbones towards the temples, on my cupids bow and chin. To buff the concealer in to my skin, I used the fantastic Real Techniques Setting Brush and Real Techniques, Sculpting Set.
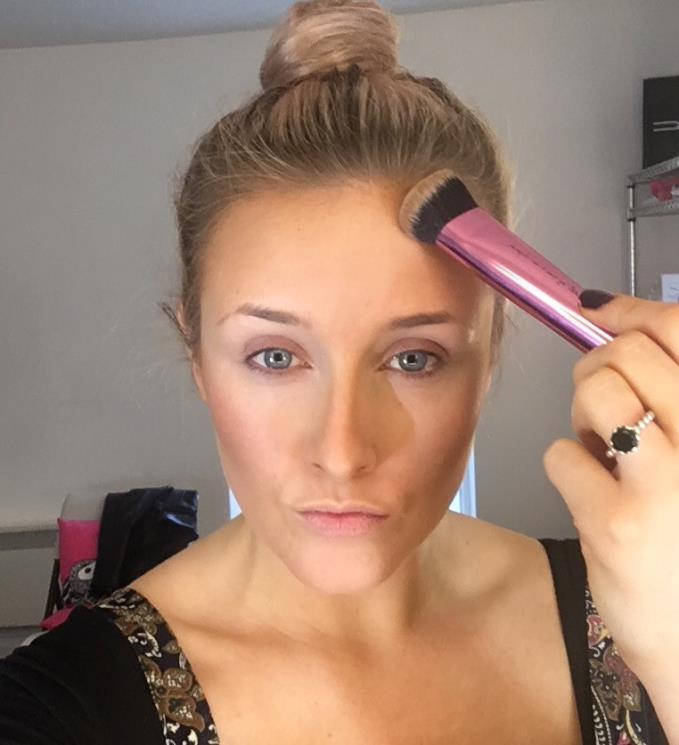
STEP TWO - CONTOUR
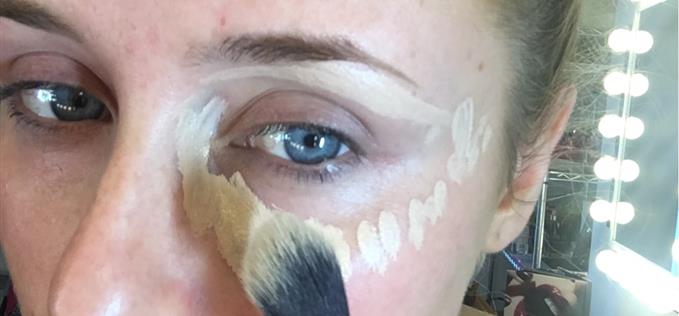
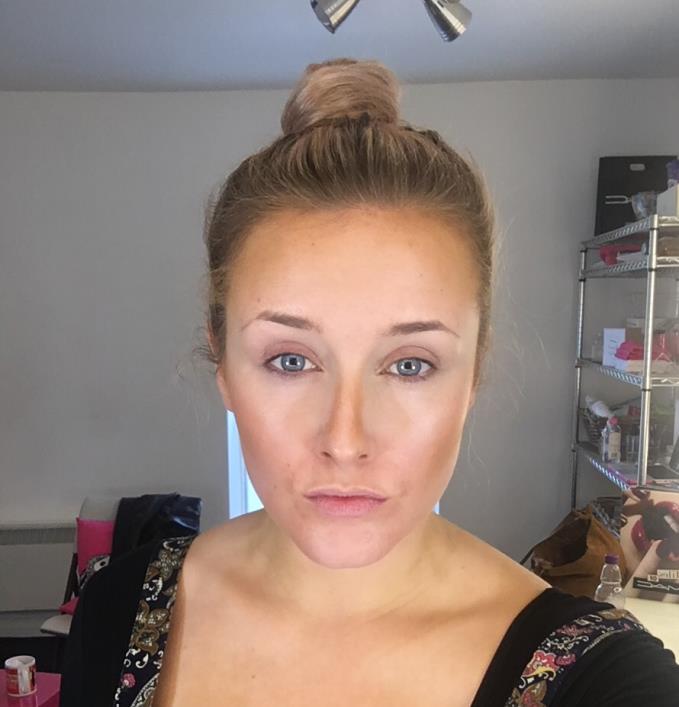
Now the centre of the face is significantly lighter, I began the contouring process.
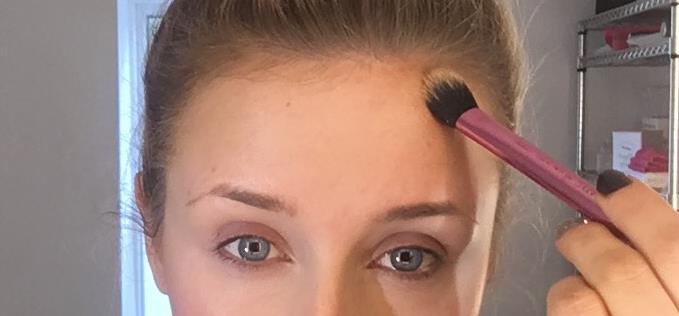
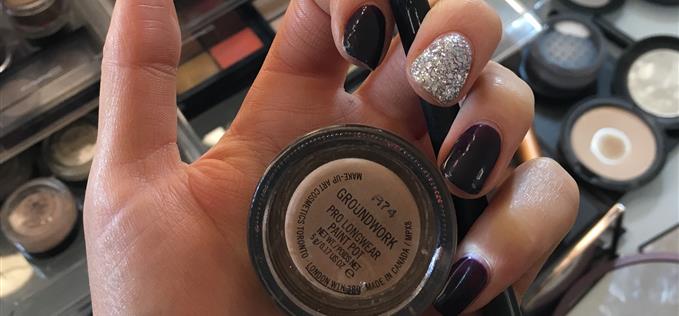
Kim’s contouring is strong and flawless, so I used a tiny bit of MAC Prolongwear Concealer in NC45 - a significantly darker shade to my skintone - with a clean Setting Brush, underneath my cheekbones and then round my hairline on my forehead. Making these areas darker, in comparison to the highlighted areas, means the light will sink in to the darker areas and reflect off the highlighted areas, giving the illusion of a more sculpted and shaped facial structure.
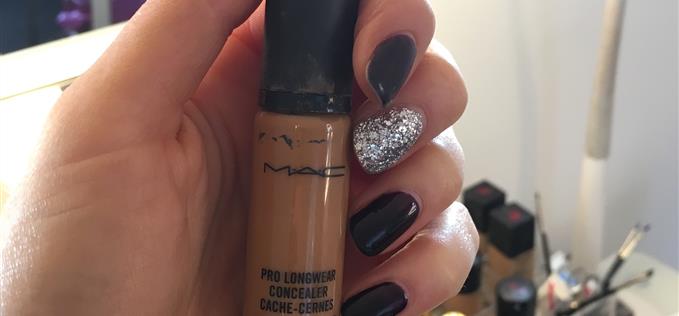 MAC prolongwear foundation
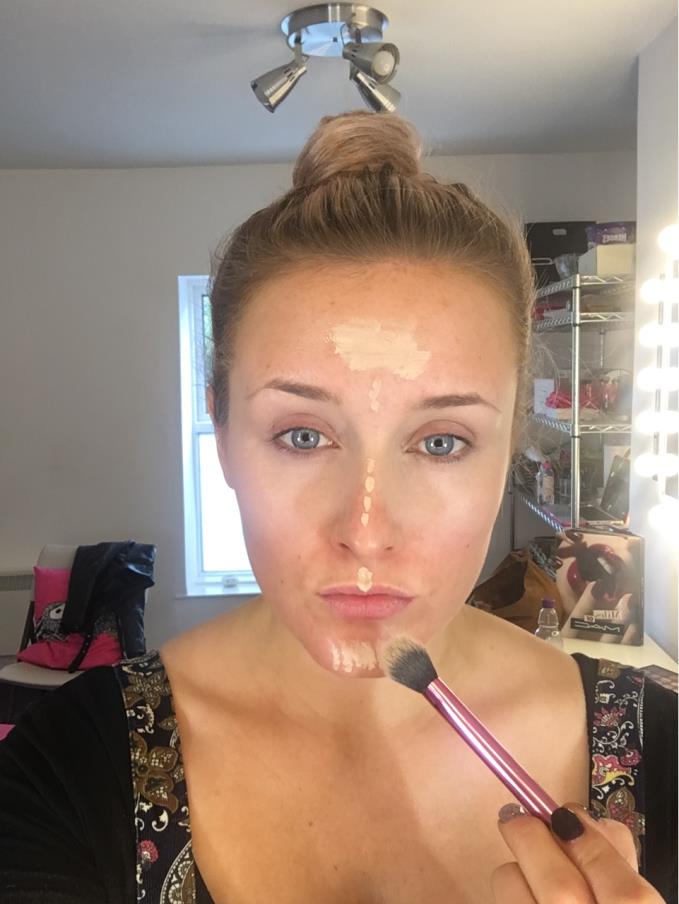
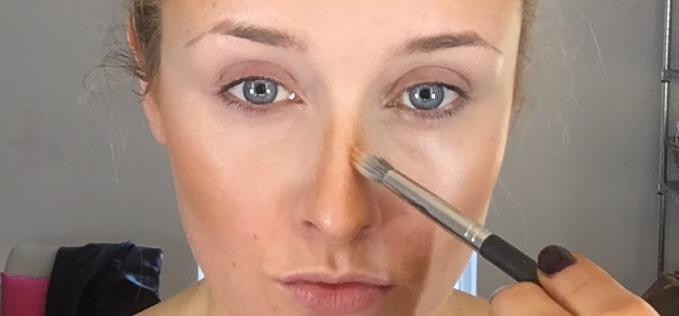
I also used a thinner brush (eg MAC, Blending Brush) to apply a very small about of product down each side of the nose (either side of where I had previously highlighted).
STEP THREE - POWDER AND SET CONTOUR
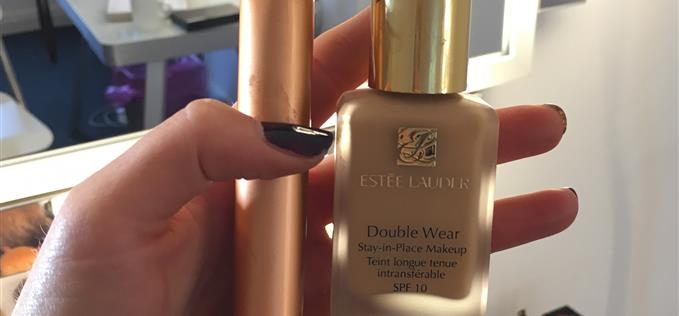
Even though I'm already wearing face full of slap, I reached for my foundation drawer and pulled out the Doublewear. Anyone who knows me, knows I’d rather jump off a bridge than wear this much heavy makeup (dramatic, I know) but the Kardashian's call for more.
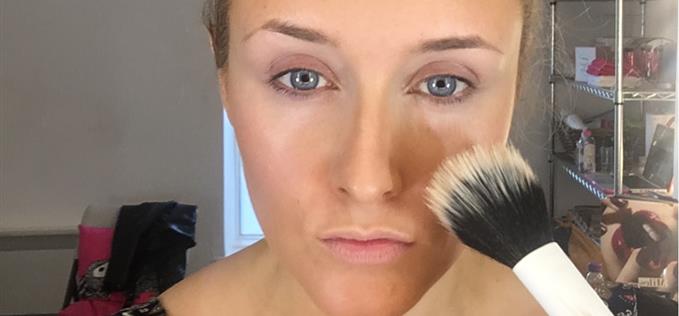
For anyone who doesn’t know Doublewear, it’s Estee Lauder’s most famous product and well known for its full coverage, super matte finish and outrageous staying power. Using one of my favourite foundation brushes, the Buffing Brush from Real Techniques, I got to work blending, blending, blending.
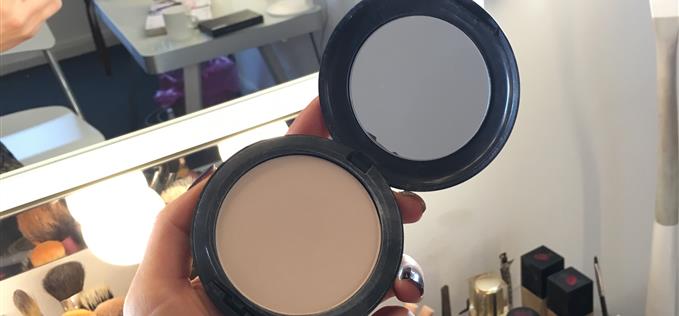
Straight after, I used MAC Studio Fix Powder to set the foundation, with a Duo Fibre Face Brush.
STEP FOUR - DEEPEN CONTOUR
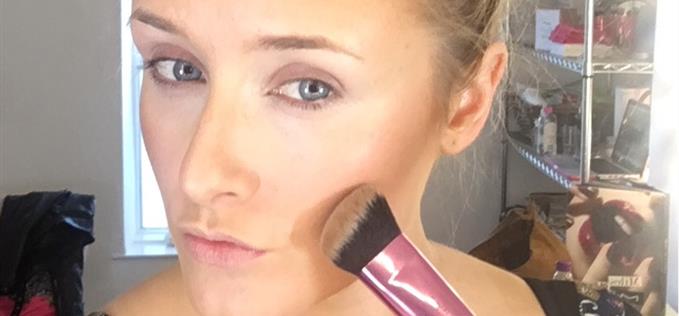
Next to contour the face… again. Using Sleek Face Form in ‘Medium’, I used the Real Techniques Sculpting Brush to softly add more colour to the lower half of my cheekbones, and around the hairline of my forehead.

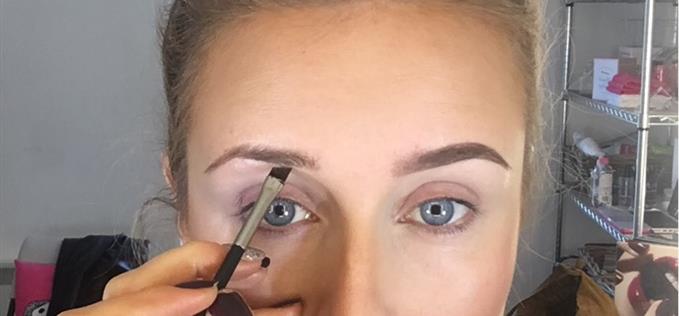
STEP FIVE - DEFINE EYEBROWS
As far as I can tell, Kim naturally has a great brow. She doesn’t need to wear much product through them, and you can always see her natural hairs. I lack in the brow department, so this was always going to be a struggle for me.
Firstly, to emphasise what natural brow hairs I already have, I used the Brow Perfector from Sleek, which is like a mascara for your eyebrows.
 Kardashian always do good brows
Next I used a MAC 263, Angle Brush with Anastasia Beverly Hills Dipbrow Pomade to create a more rounded arch like Kim’s. I outlined my brow with the product, I don’t draw straight through the hairs – they’ve already got enough product from the Brow Perfector.
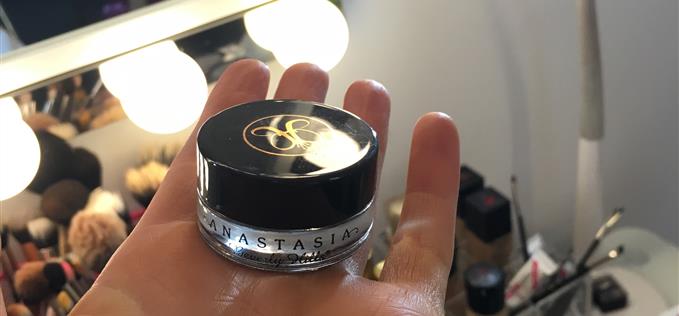
 Create a rounded arch with gel and angle brush
 STEP SIX - KIM K SULTRY EYES
Kim usually wears soft, super blended, blown out smokey eyeshadows and always has visible lashes.
Using a 217 Blending Brush, and Groundwork Paintpot from MAC, I blended the colour all over my lid and into the crease of my eye. Using a 242 flat brush (MAC), I blended the same product in to the lower lashline.
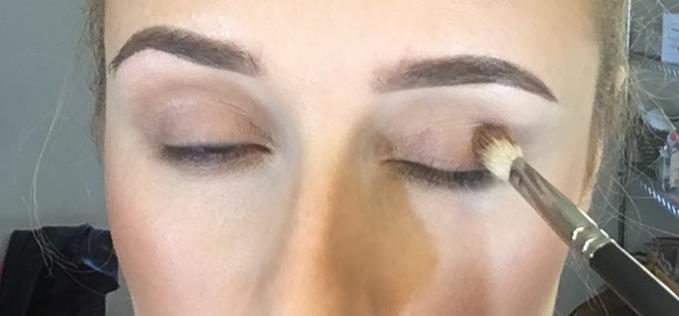 Brown smokey eyes
 After this I used Anastasia Beverly Hills Birkin eyeshadow and blended over the top of Groundwork with a 224 MAC blending brush. I used Vanilla Pigment (MAC) to lighten my tearducts and inner corners of my eyes and Bronze eyeshadow (MAC) to get the classic Kim K bronzey shadow, under the lower lashes. Using Cocoa, Eau La La Liner from Sleek, I lined my waterline.
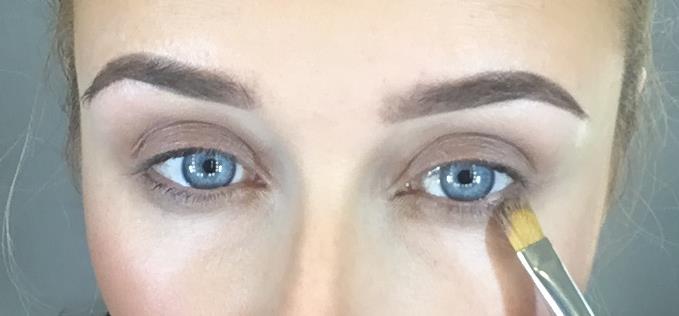
 Line your waterline for added effect
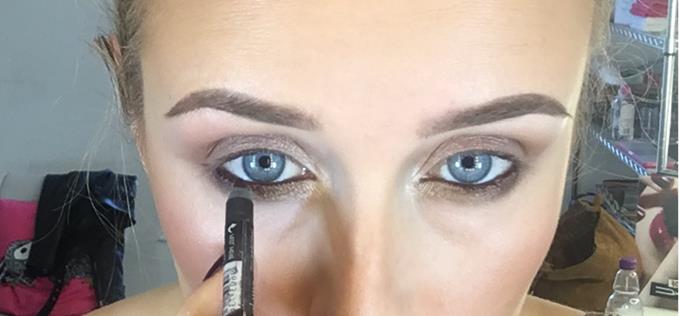
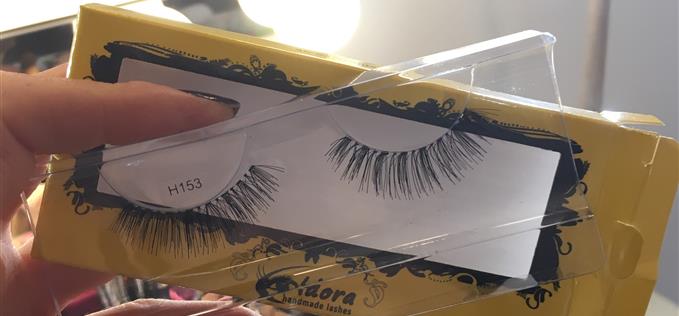
Big, bold lashes are incredibly important to a Kardashian.
I added mascara on to my bottom lashes separating them and making sure they had several layers of product on. I always notice how KKW has really obvious lashes, opening her eyes up. I put a little mascara on my top lashes then applied H153 Eldora False Lashes. Again, applying mascara on top of these.
 Have a managed the Kardashian smize?
 STEP SEVEN - NUDE LIPS
Almost there...phew.
Feeling sultry, smokey and contoured to within an inch of my life, I chose some lip colours. I used - and you won’t believe it - the Primark nude lipliner all over my lips (this is very very similar to MAC's 'Boldly Bare', aka the best nude lipliner in town). It costs just £1. Absolute steal.
 Just £1 and from Primark
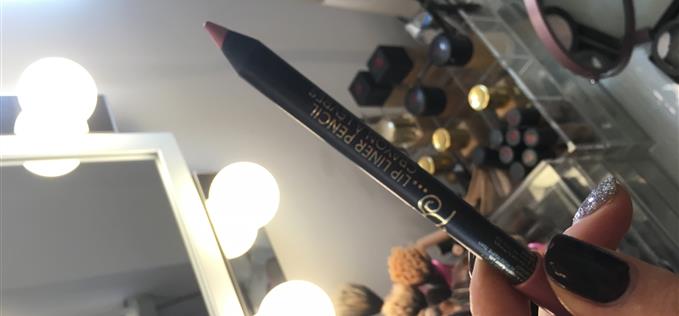
I then outlined my lips with Spice Lip Pencil. This was the tricky bit as my lips are the complete opposite to Kim Kardashians. Instead of my natural rounded ‘m’ shape cupids bow, I had to try and re-draw to mirror Kim’s more ‘M’ shape cupids bow. Theres a big difference between big ‘M’ and little ‘m’. I then added Kinda Sexy lipstick and a little bit of Angel Falls on top.
 Line your lips to create a big 'M' shape
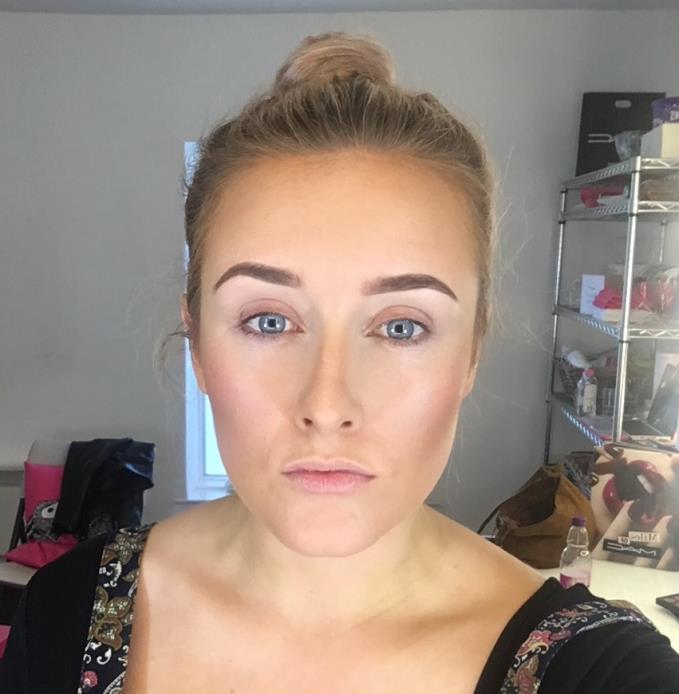
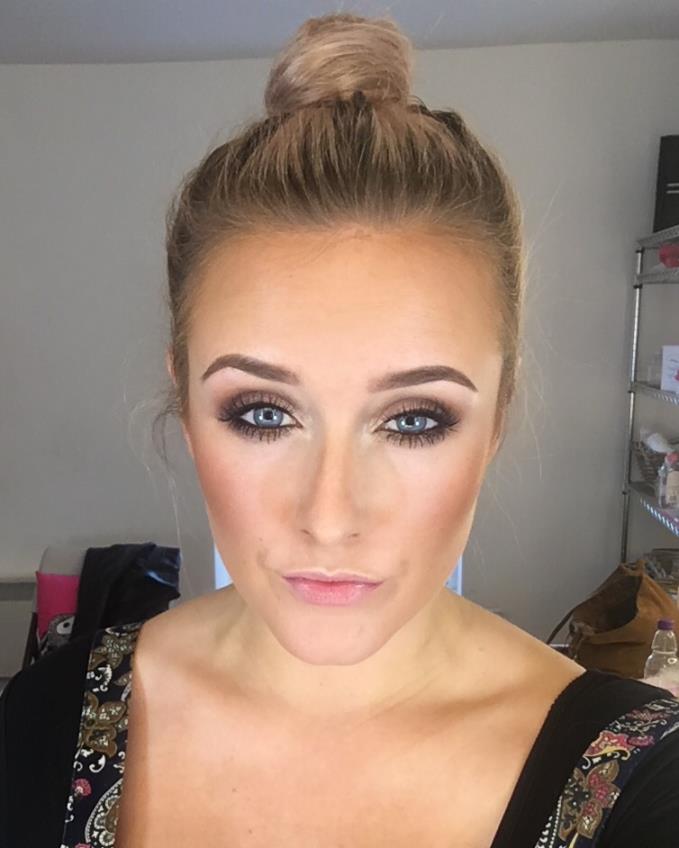
 Finished. The Kim K contour
VERDICT
I can honestly say that I have never seen myself looking, or feeling so completely different. Whether it was because my reflection showed me with makeup I was not used to wearing, or because I knew in my mind exactly how much more I had put on, or even whether it was because I knew how differently I had applied it – whatever the reason, it was odd. But I definitely can’t say that I didn’t like it. I felt a new sense of glamour in comparison to my usual more grungy (lazy) kinda vibe. I got a whole load of compliments on this new look for me maybe I’ll be Kim again on Saturday night - you know, tricking the men of Manchester.
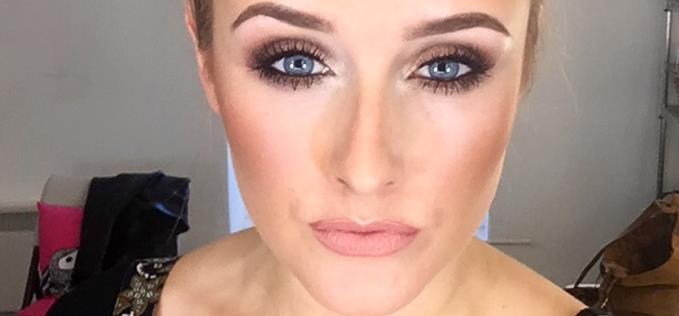
 Have I nailed it?
You can find more make-up tips by Frankie Noone on her website. Facebook: Makeup By Frankie. Instagram: @frankienoone